Do you enjoy the idea of standardizing your Available Licenses? Is it time to spring-clean your existing licenses? Let me show you how.
-Navigate to your Licenses section in Accounts.
-To create a new click on the [+ ADD] button.
-Name the license > Put in optional notes > Select the Limit(s) for the license > Click Save
*Note - Click Here for Limits explanation
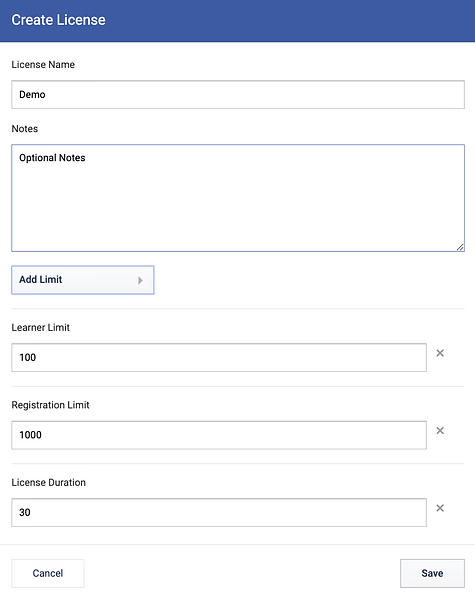
*Note - When selecting multiple limits, you will receive a warning.
-This license will now be available for you to choose from when you are asked to add a license to an account or piece of content.
The process of editing a license is just as simple.
-As before, navigate to your Licenses section of Accounts.
-Select the license that you would like to edit.
-In the License Details panel, click edit.
This will open the same window that you saw while creating a license.
-Make any changes that you wish to make > Click Save
*Note - Changes made to a license in this manner will not affect licenses that are currently attached to accounts or courses.
-If you have any questions, please send a message to support@rusticisoftware.com